CASE STUDIES
1
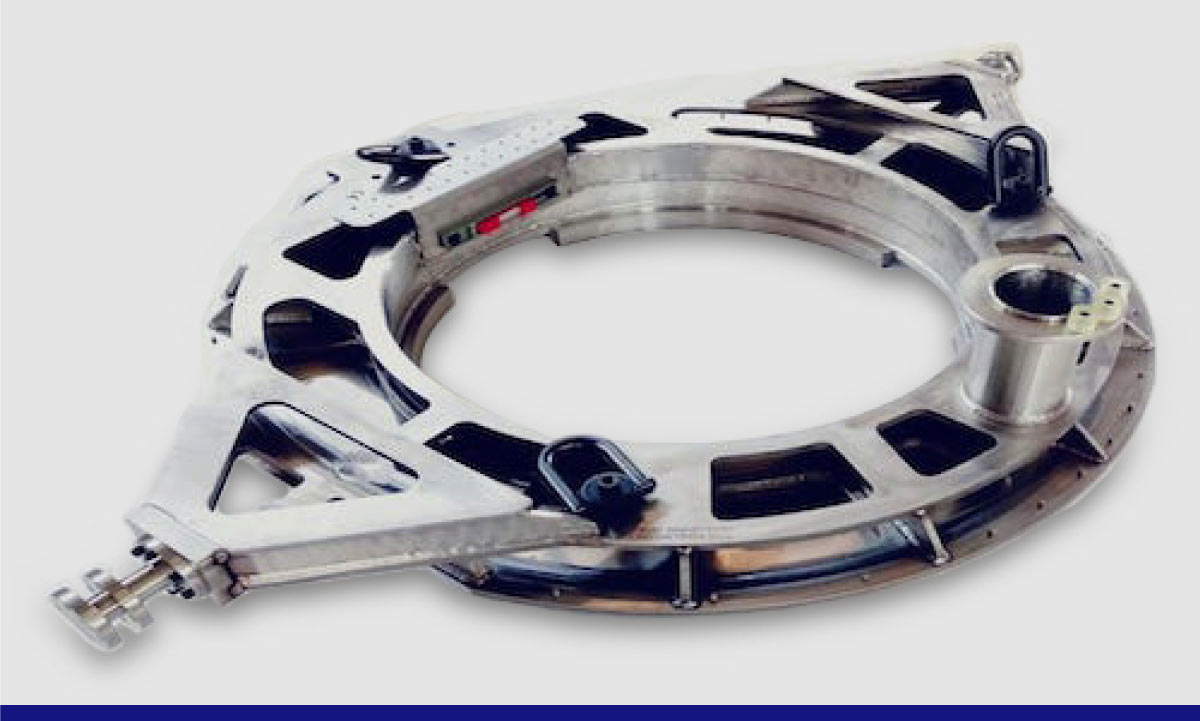
Aerospace tool
Product : Fixture strong back, LPT assy
Material : Super Duplex
Size : 1300 X 1300 X 400mm
Challenges
- Machining super dulex material for a welded assembly
- 7 stages of welding and 10 stages of machining for one weld assembly, whilst maintaining assembly tolerance through the process
- Complex welding fixturing
- 6 proof load tests at varaition
2
Engine transportation stand – power gen gas turbine
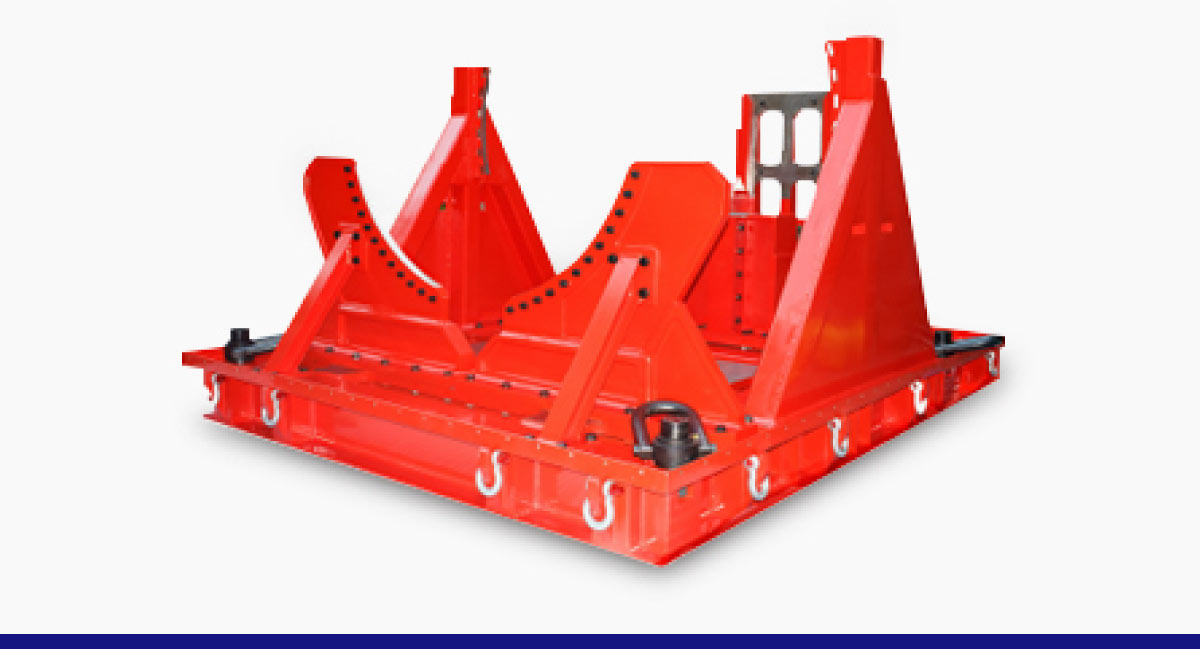
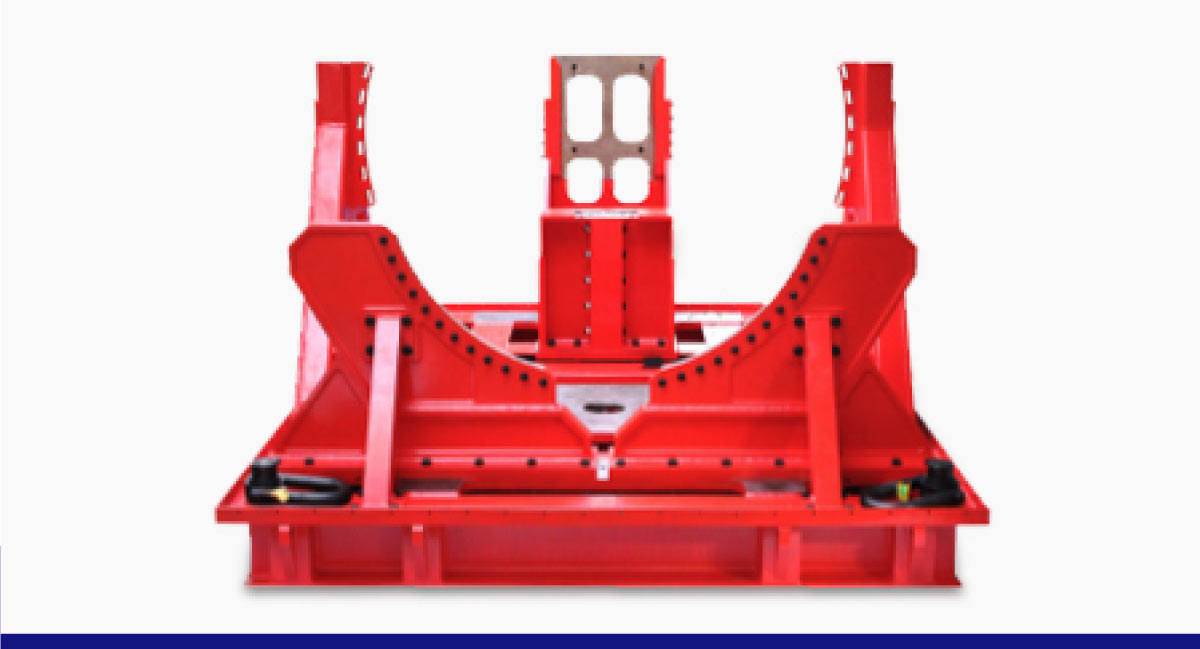
- Proof load test of 70 tons
- Tool weight – 8 tons
- Dissimilar metal welding between heat treated 4140 and carbon steel
3
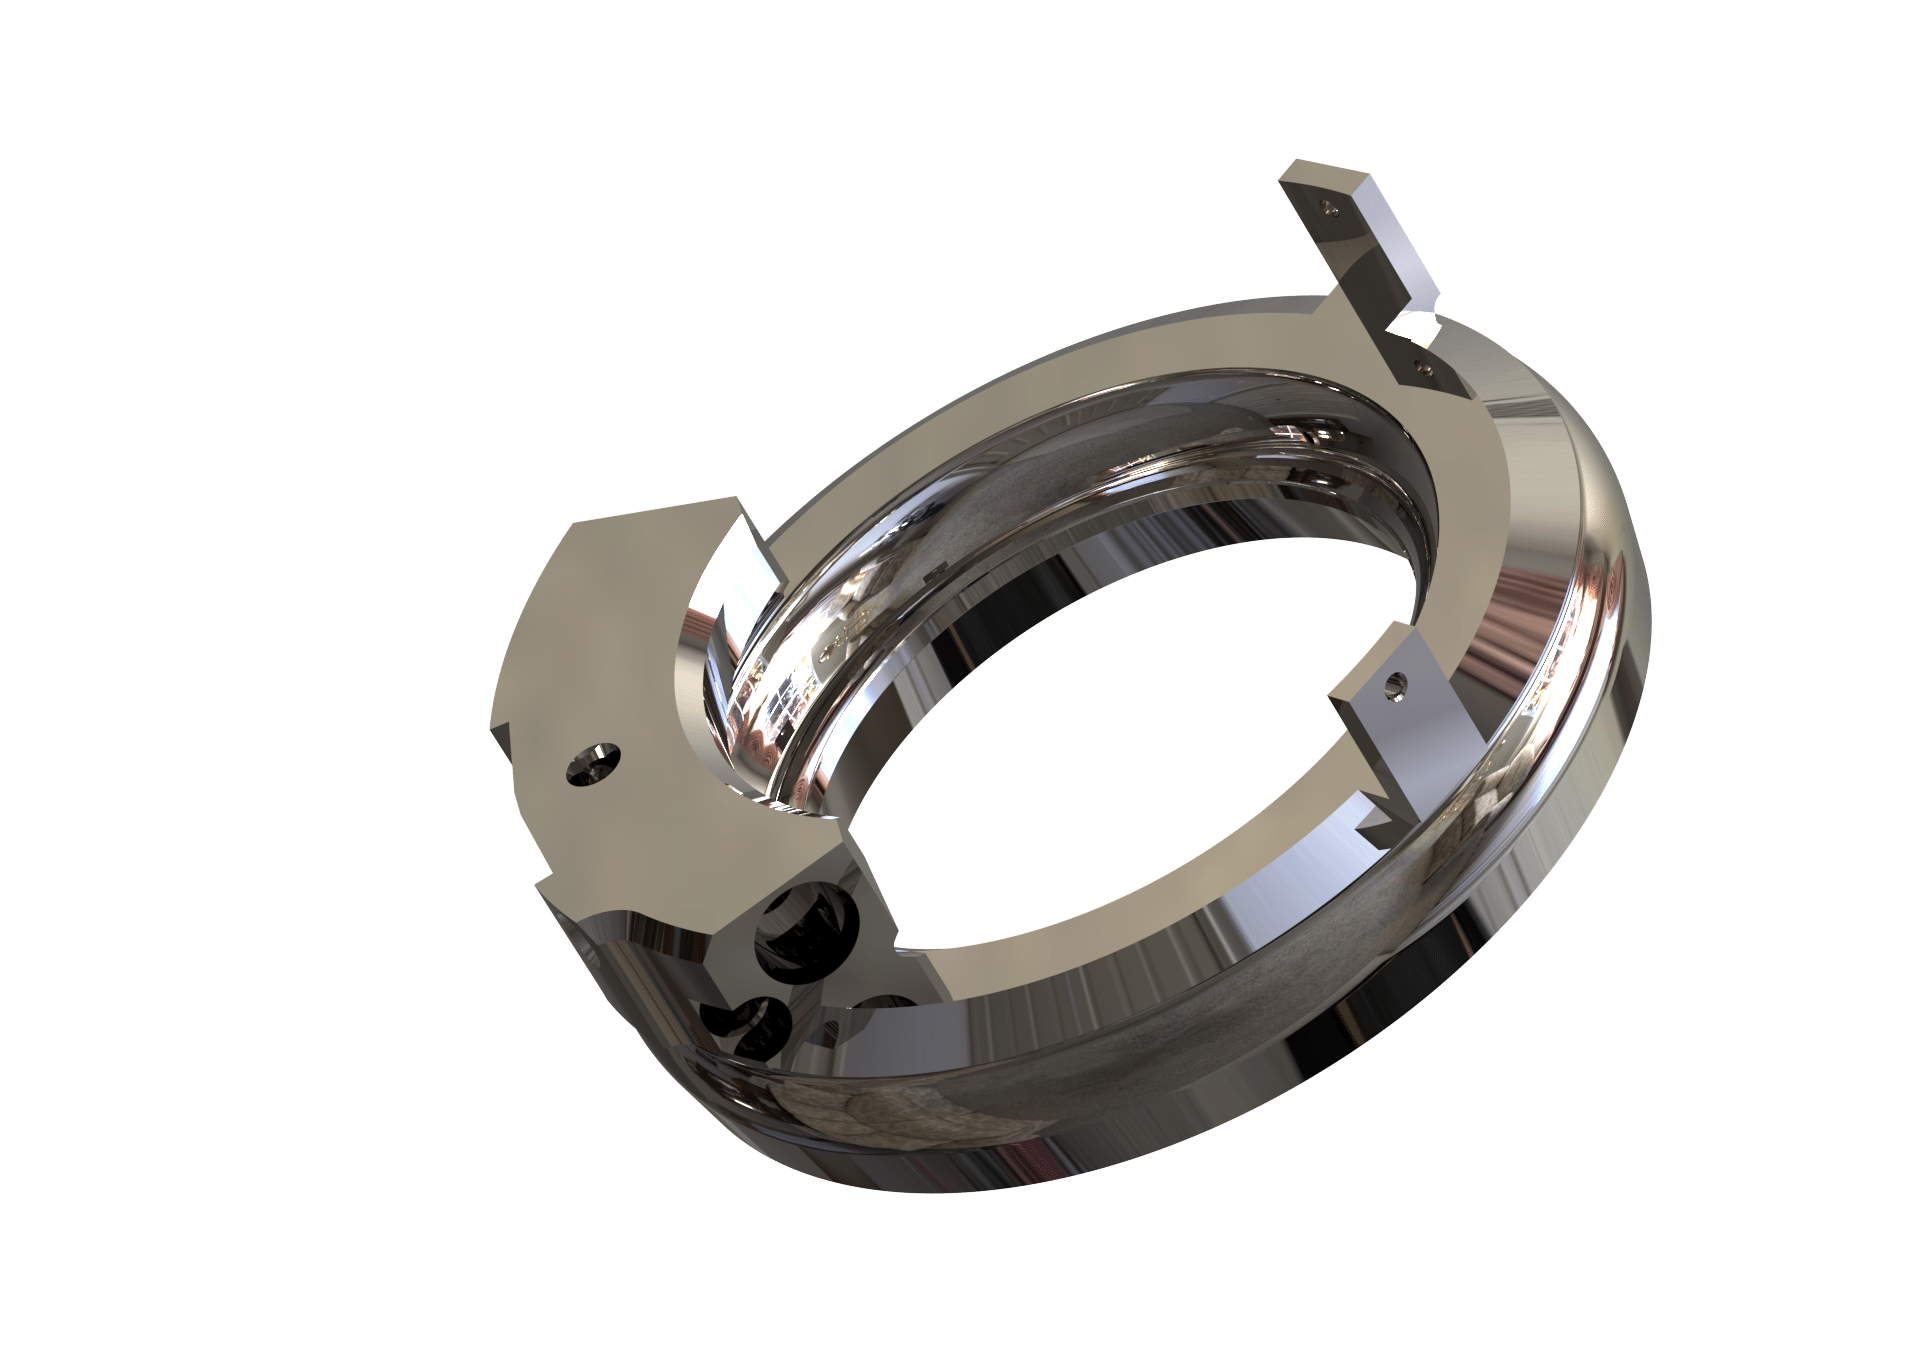
Defense component
Product : Manifold
Material : Ti-AL-4V
Size : 180mm
Challenges
- Challenging face groove turning to maintain thickness of 1.7mm +-0.05 & 2.05mm +-0.05
- Very high pressure critical cross-sectional area
- 2mm +- 0.02 , 6mm +- 0.015 , 4.4mm +-0.02 : Difficult to obtain consistent dimensions & close tolerances due to titanium material.
- Very high L/D ratio of tool – deep holes +85mm
4
Space component
Product : Head End Dome
Material : Ti 6AL 4V
Size : 317 X 130 mm thick
Lead time FAIR : 40 days
Challenges
- Concentricity of 0.1 mm on all diameters
- Surface finish of 0.8 RA on all highlighted areas
- 5th axis machining of 3 x 6.0 mm holes & intersected with pyro port holes
- 70% material removal with several stages of machining + aging
- 3D profile machining to ensure seamless transition between turning and milling centers
